

Zapier
Zapier is one of the most popular productivity solutions that connect a host of web apps so you can simultaneously manage multiple tasks in an automated and productive way. With Zapier module for WPUF, easily subscriber a contact to Zapier when a form is submitted through User Frontend.
Integrate your WPUF form entries with Zapier apps, grow more leads & contacts, and get more opportunities for sales and marketing.
The WPUF-Zapier module is available in the Business Plan.
This documentation shows how to use WPUF Zapier integration.
Navigation
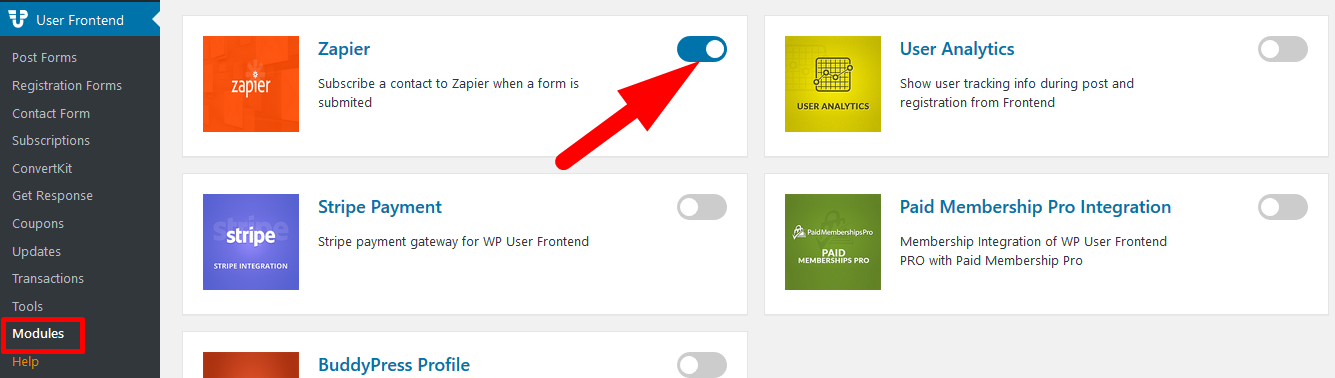
To find this feature, simply navigate to wp-admin→User Frontend→Modules. From Modules, turn on the toggle button for Zapier.
Configuration
1. After turning on the module for Zapier, go to User Frontend→Registration Forms. Select the form you want to integrate with Zapier or create a new form.
2. Then go to the Settings tab of your form. Click on the Zapier page.
3. Then check the box Enable Zapier. And enter the webhook URL.
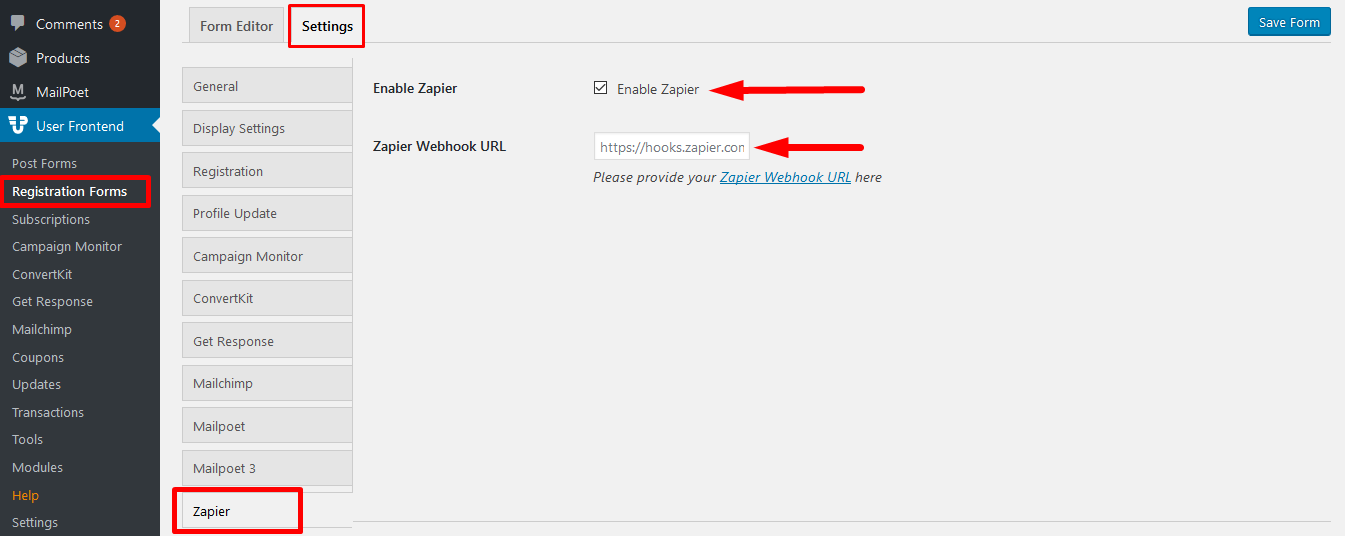
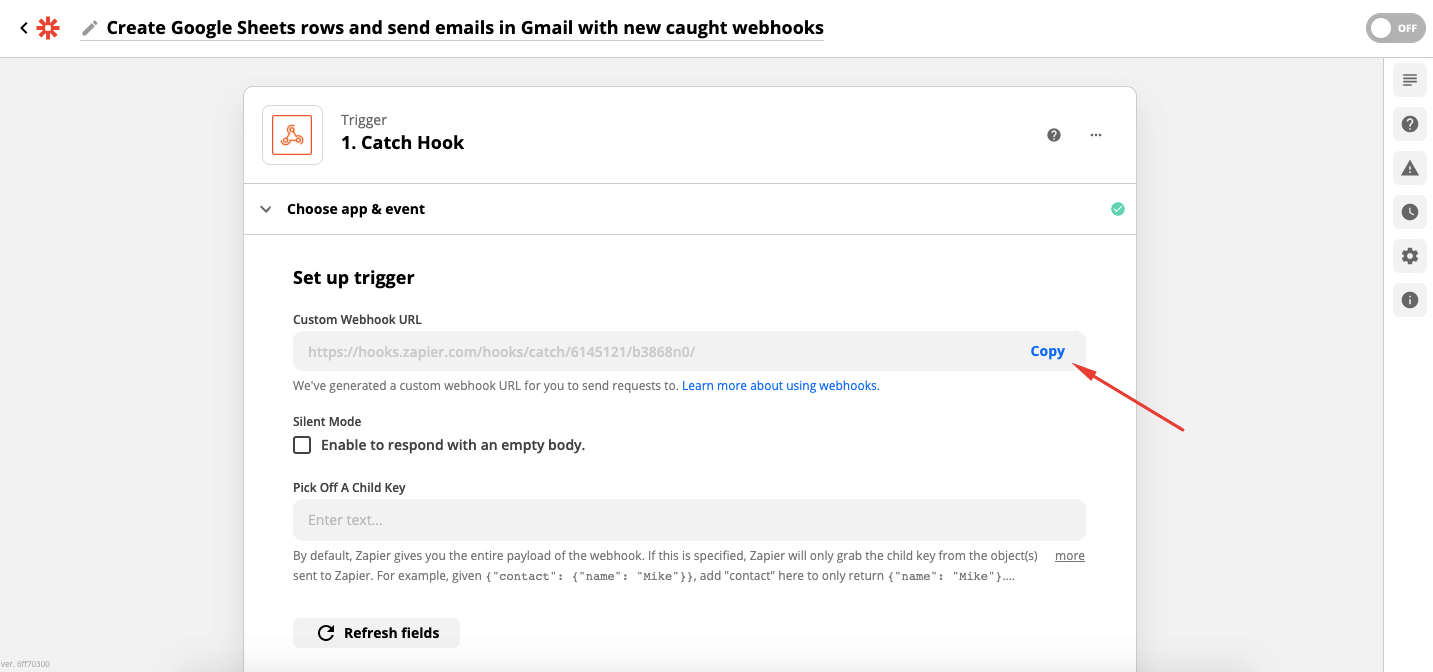
4. To obtain the webhook URL, visit your Zapier Account. Click on Make a Zap. Copy the webhook, and paste the webhook in the form Zapier Webhook URL field.
Please have a look at this detailed video tutorial.
Here are the steps to acquire a Zapier webhook and Creating a Zap.
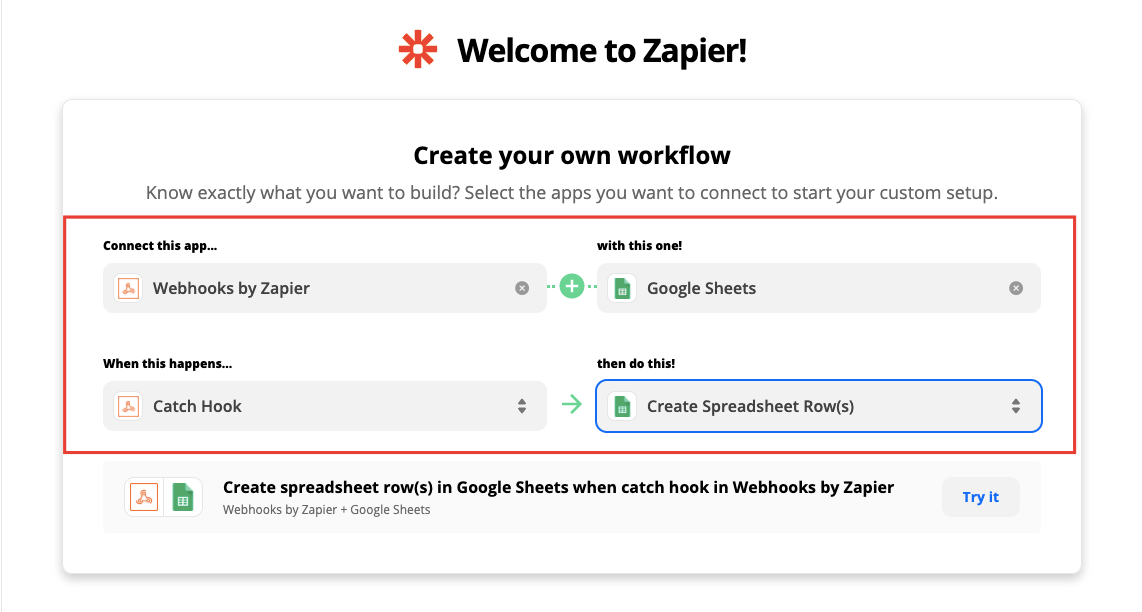
- First, you need to create a Workflow. Select Webhooks by Zapier, connect with Google Sheet. Then select Catch Hook, the action will be creating columns on Google SpreadSheet.See the below Screenshot to get a clear idea. Click on Try it to continue
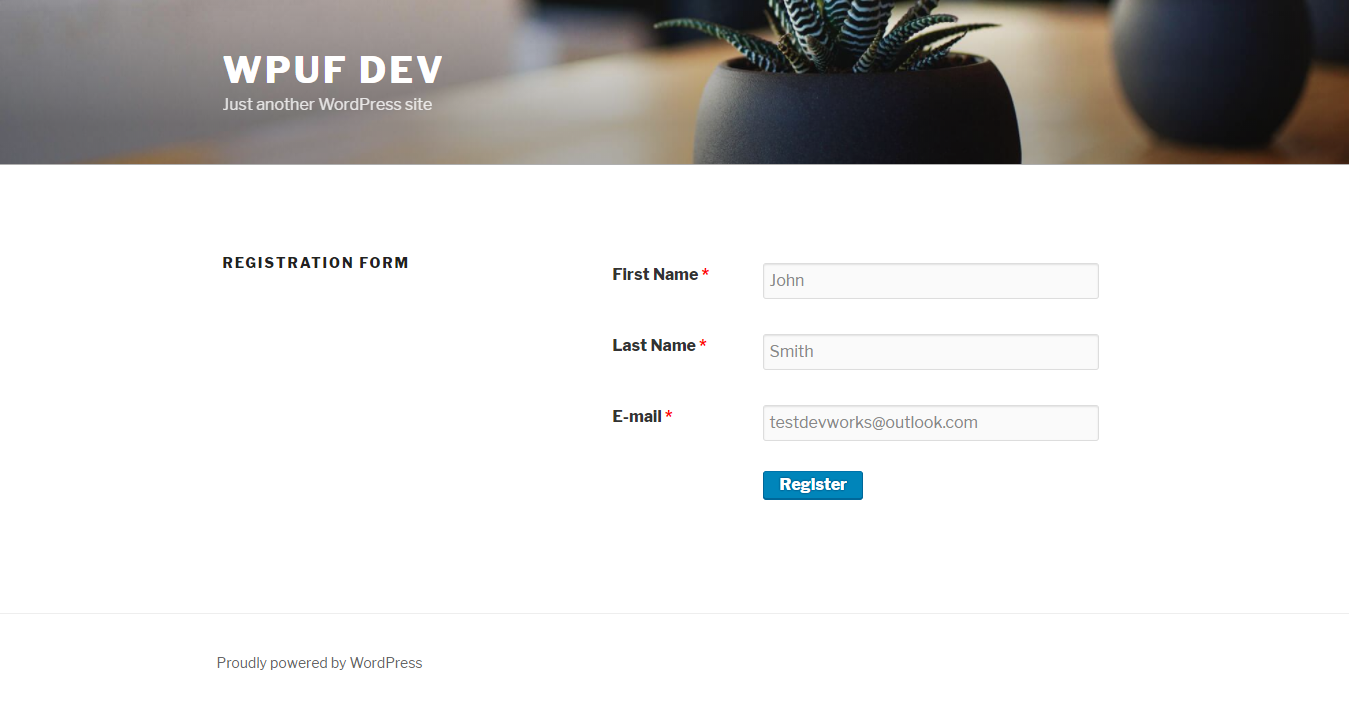
As shown below, when the user submits an entry, his email is integrated into the specific app whose webhook has been used. In this case, it is Google Sheets.
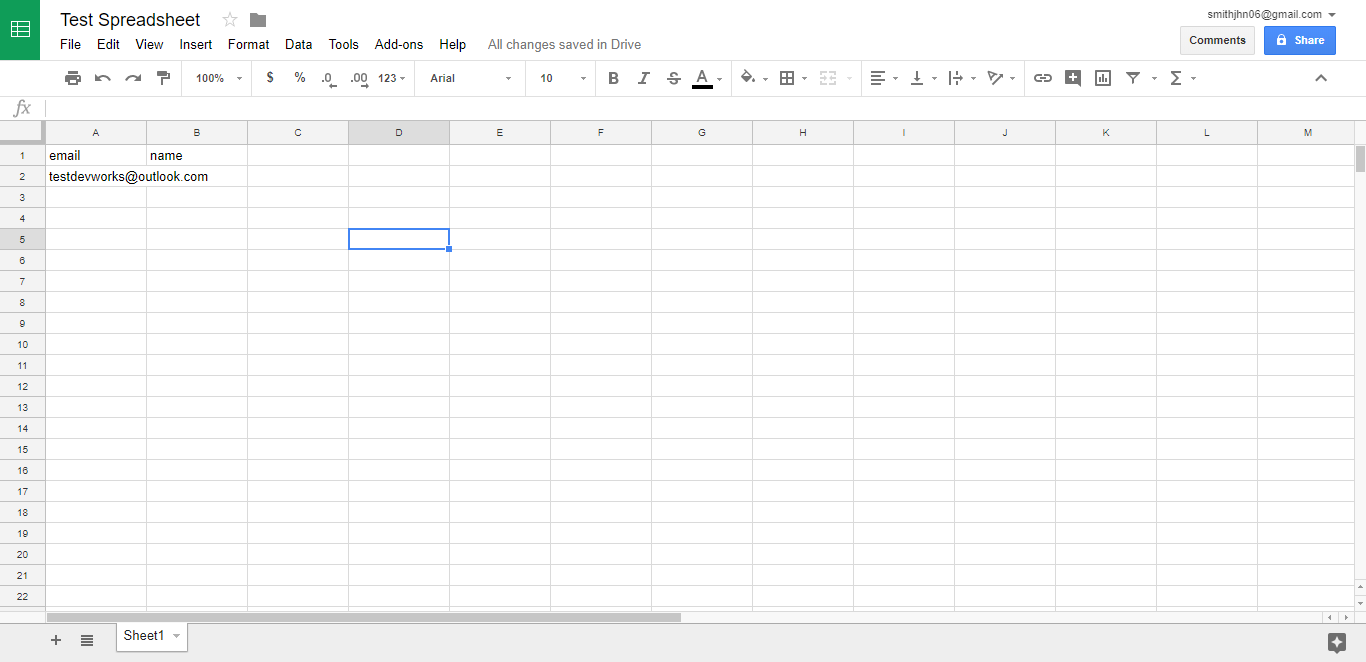
It will appear in the spreadsheet as well.