How to Create and Update Files in WP Project Manager
WP Project Manager Pro comes with a Files Manager that takes complete care of your files, documents, and images from one place. Create and attach documents, save links to web pages and files, and manage everything from one page.
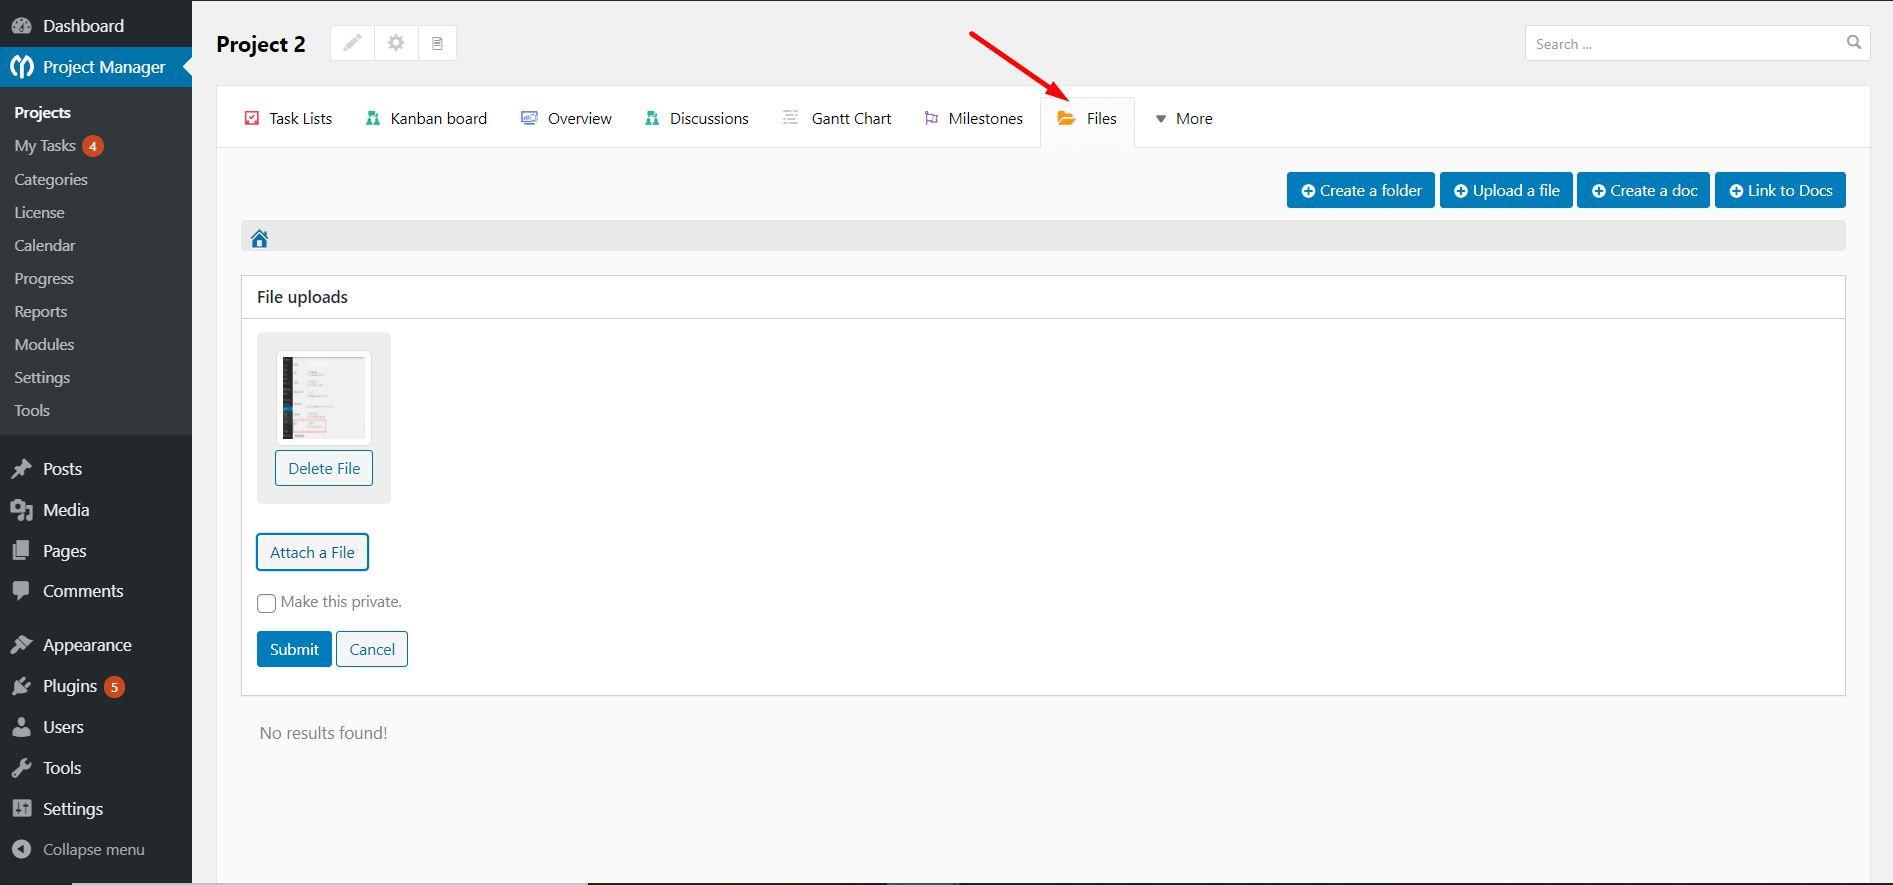
Uploading a file
- Simply go to the Files tab from any Project and click on the + Upload a file button
- Click on Attach a file button and choose the file from your computer
- You can add multiple files at once, and choose more if you need to
- To proceed with uploading, click on Submit
Creating a folder
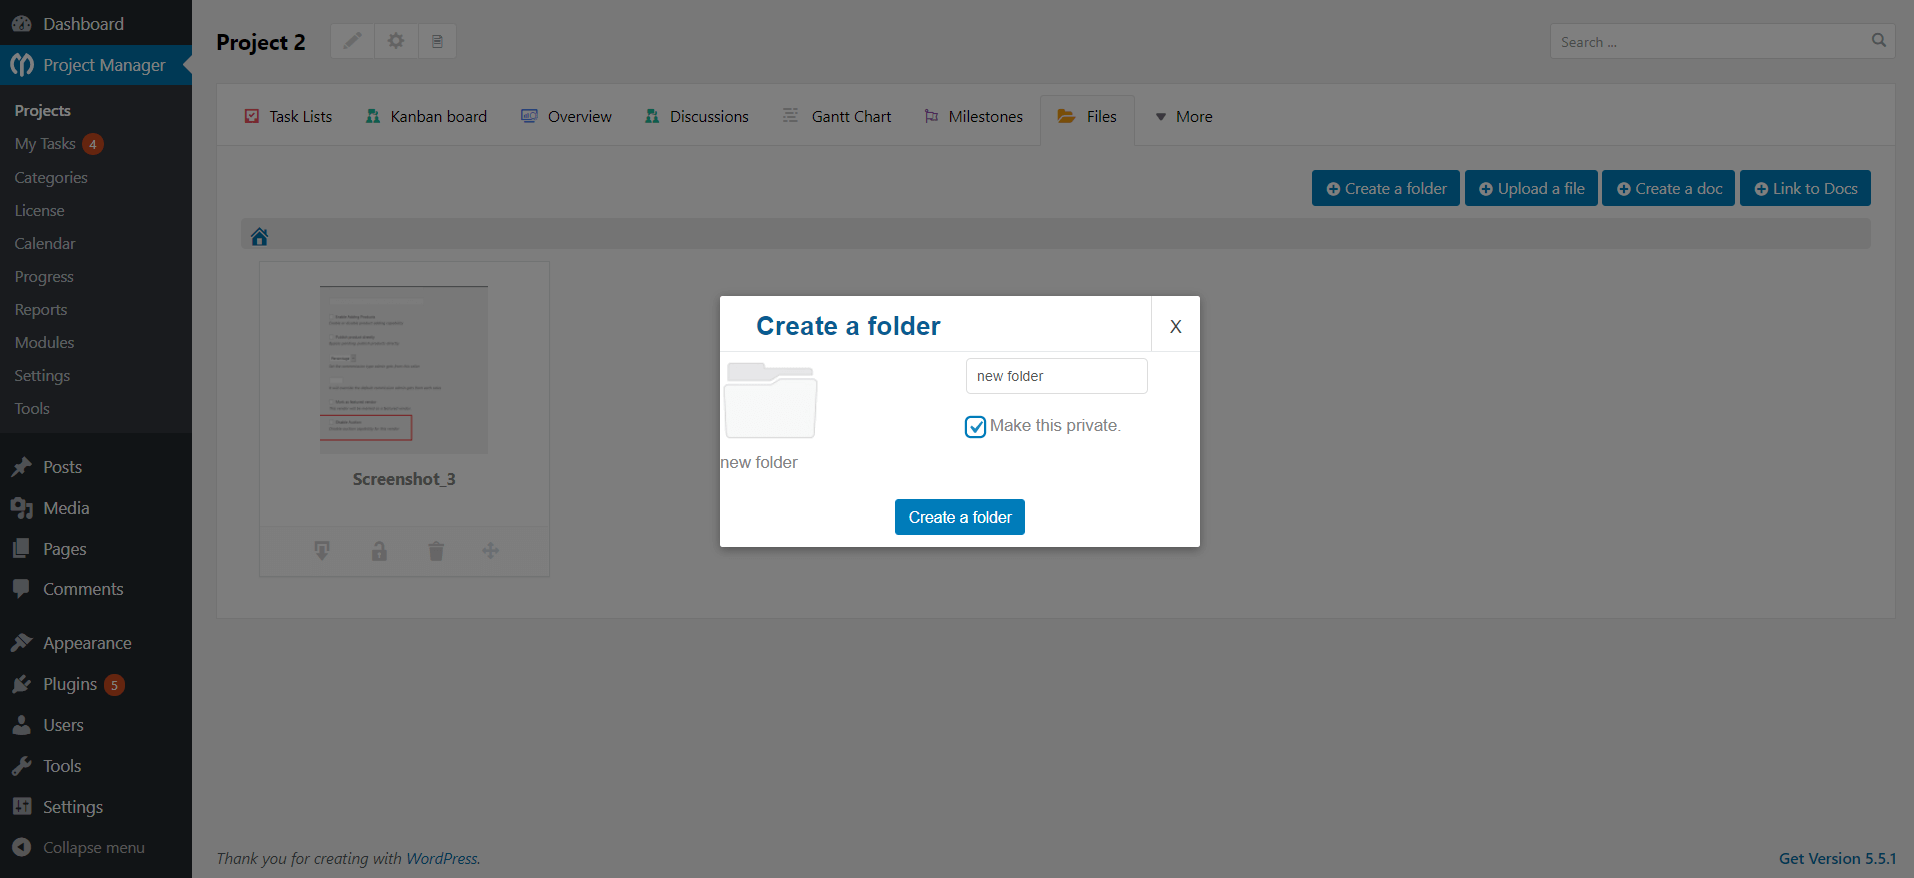
- Simply click on + Create a folder
- Enter the name of the folder
- Tick to make this private
- Now click on “Create Folder” to complete the action
Creating a Document file
- To create a document file, click on + Create a doc
- Enter the document title
- Write the things you need to note
- Click Create a doc
- You can also make this document file private by checking Make this private before creating the doc.

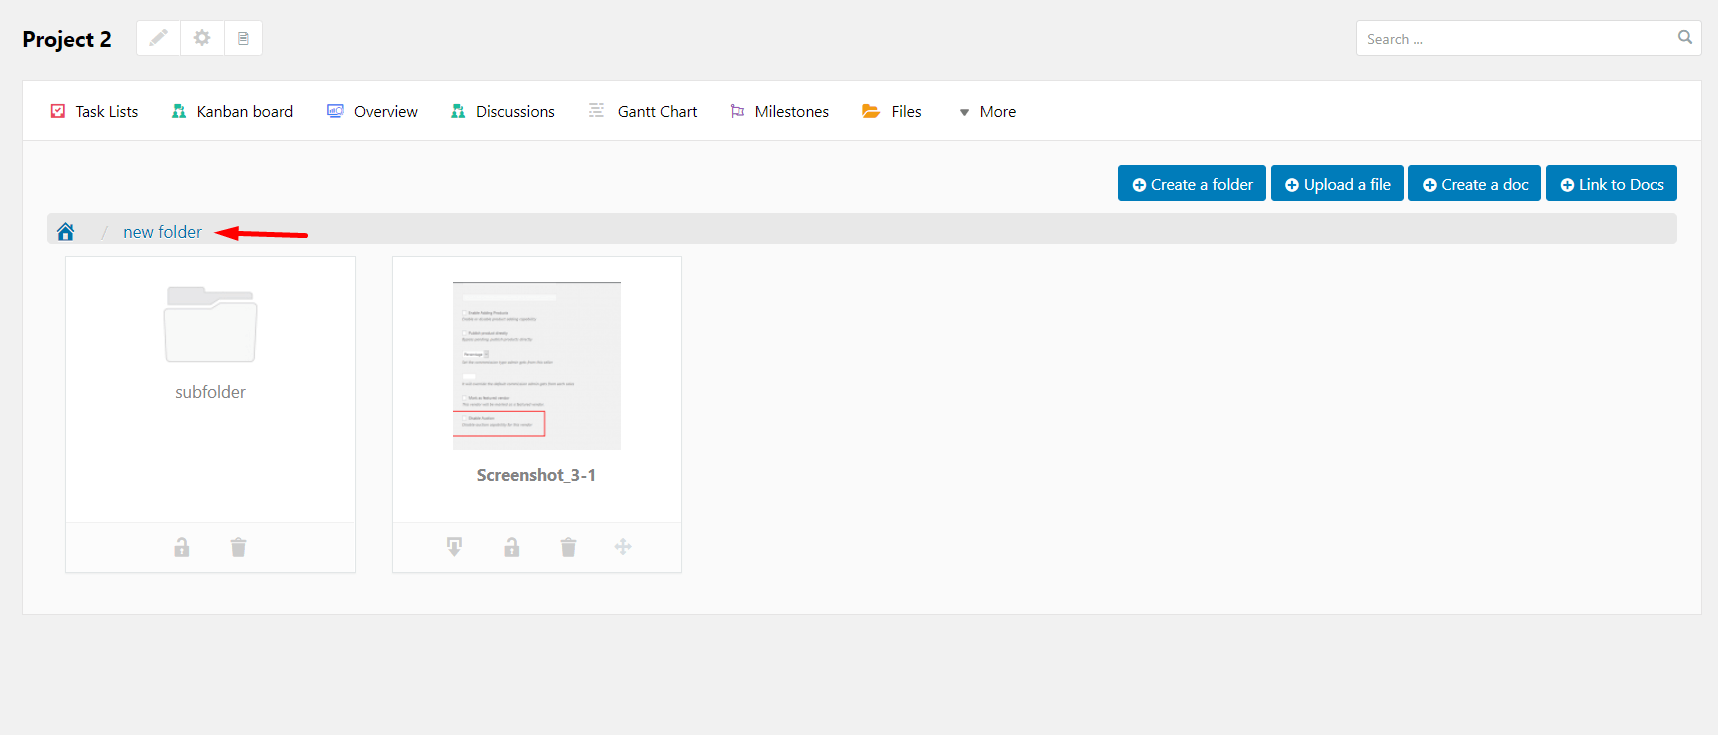
Uploading or creating a file or sub-folders inside another folder
- Click on the folder that you want to upload a file or folder
- At the top right corner, you will find all the 4 options again. You can upload files, create folders, docs, and links to docs, as you do in the Files Manager home.
- For example, click on + Upload a file.
- A file upload tool will appear.
- Click on Attach a file button and Select your file
- Click on the Submit button and save the file. You can also click Delete files, if you need to delete it.
- To make it private, check Make files private.
Linking an external doc/file to the file manager
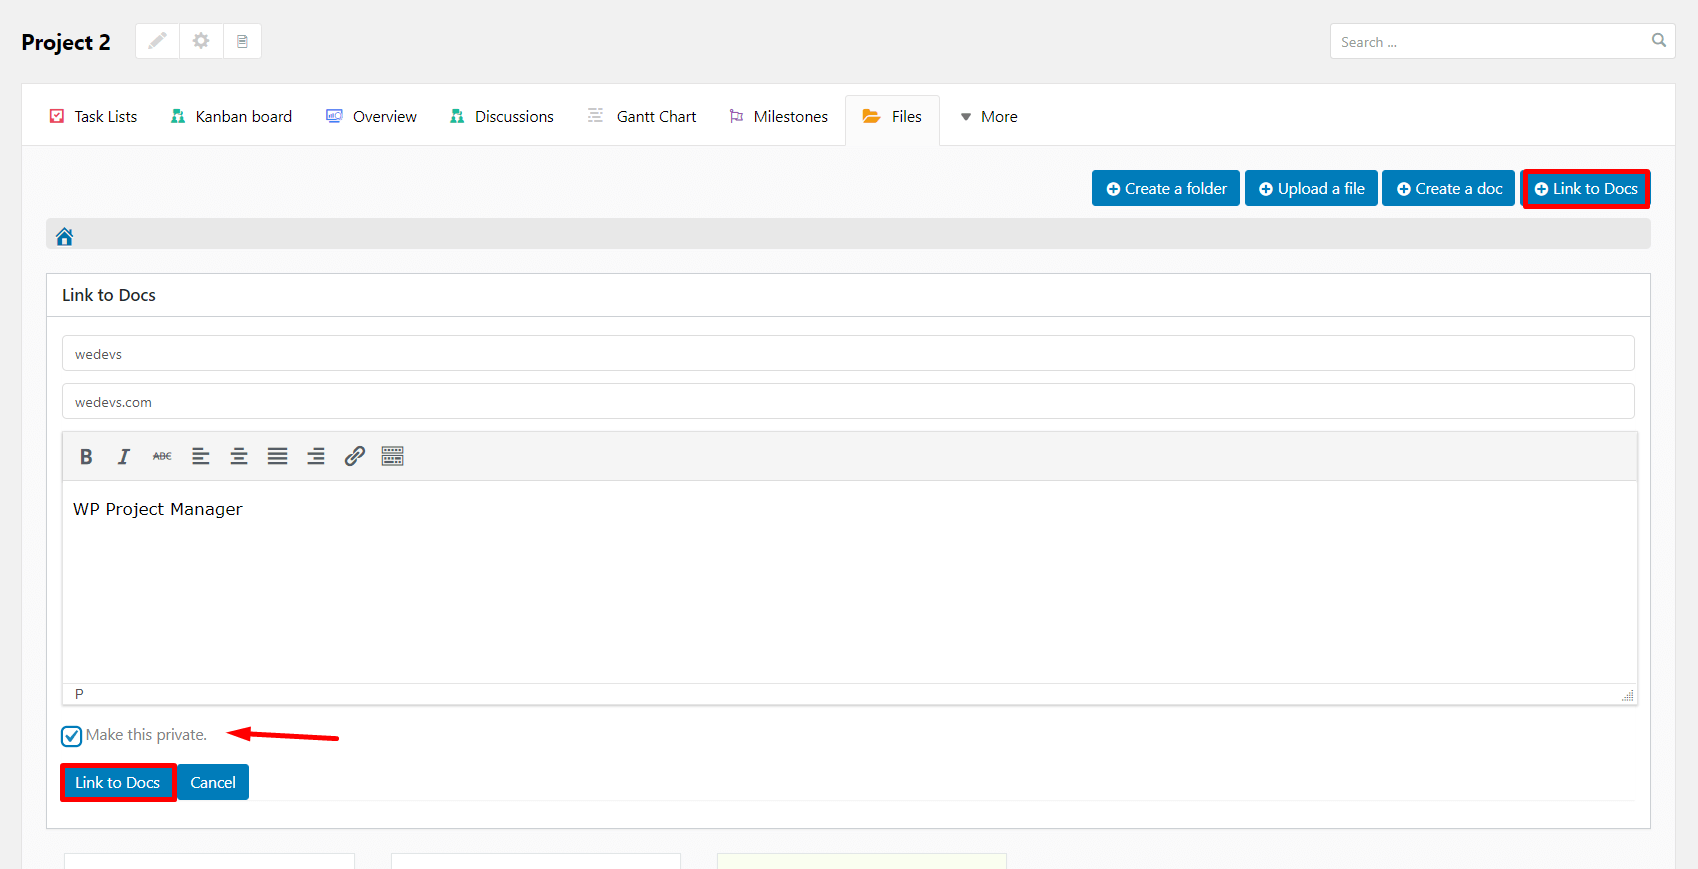
- Simply click on the + Link to Doc
- Enter the Title of the doc
- Provide the link to the doc
- Add notes if required
- Click Link to Doc
- View the linked Doc.
When you click on the file now it will take you directly to that link.
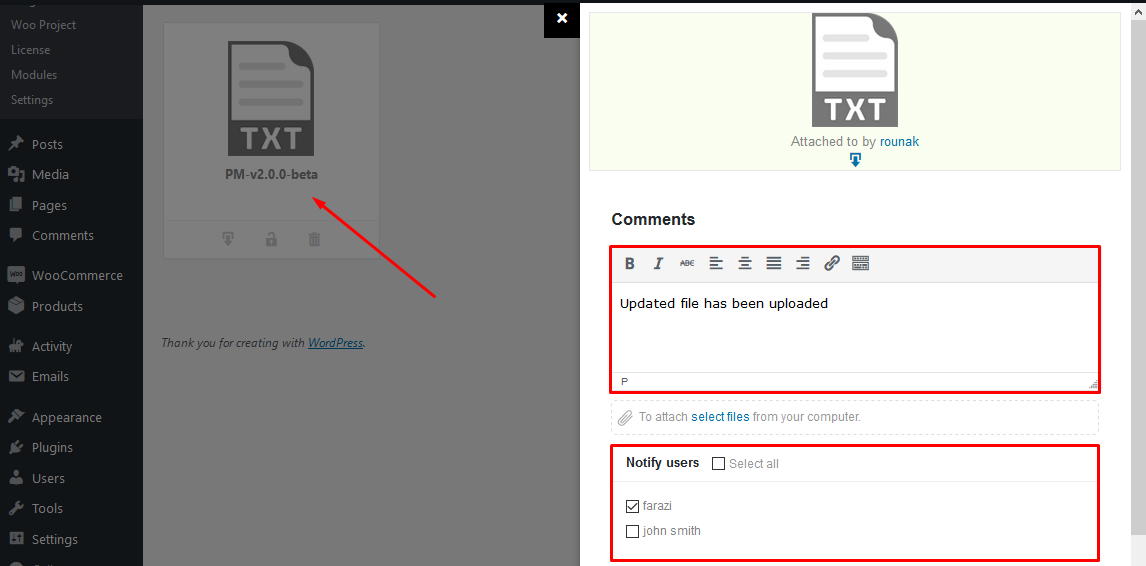
Commenting on a file or document
- Simply click on a file or document that have been already created or uploaded
- A new preview will appear
- Write down the comment on the comments section.
- You can add links or format the text according to your requirement
- If you need to attach a file, click on Select Files
- Click Add Comment to save.
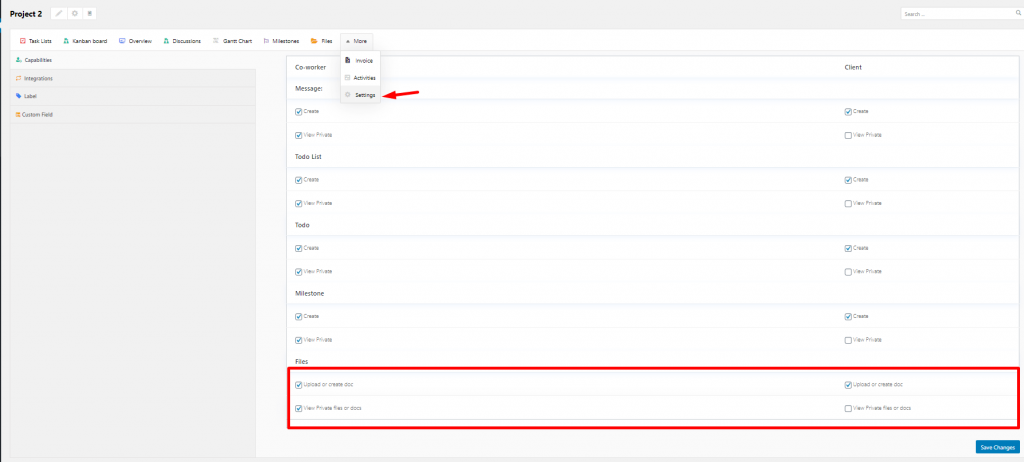
File Manager Sharing and Privacy Settings
- To access the file manager settings, click on a project
- On the right side of the Files tab, you will find Settings. Click on it
- At the bottom of the page, there is the Files section
- You can control what co-workers and clients can do
- After enabling or disabling the options, click on Save Changes.
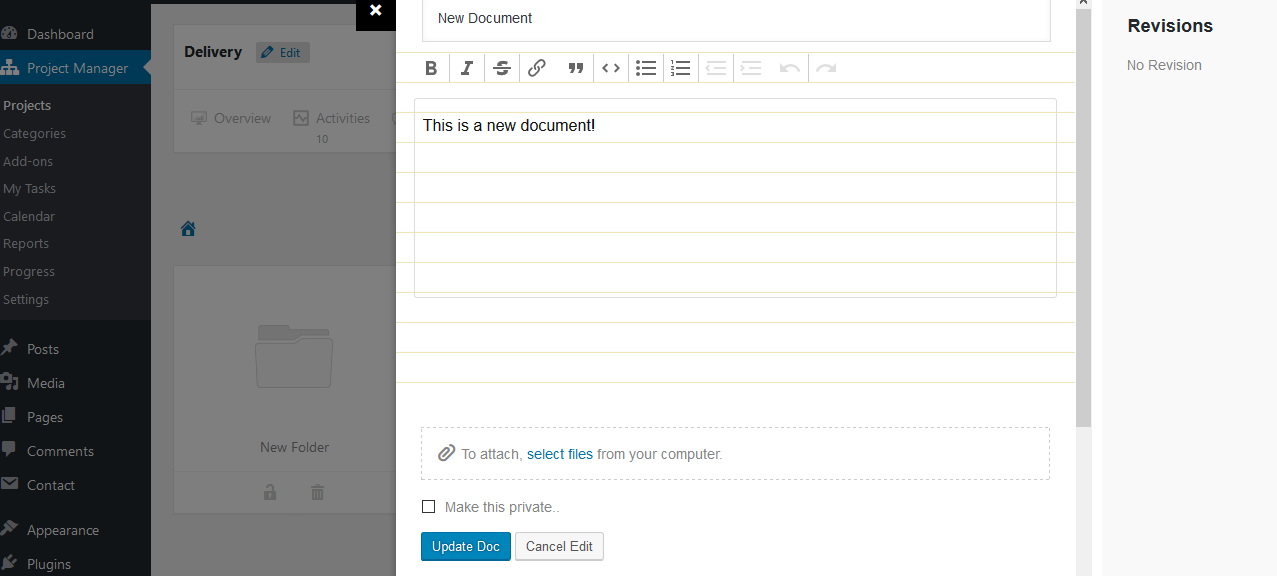
Removing or updating a file/folder/doc
- To update a file/folder/doc, click on it
- You will find the Edit button on the right top side
- After clicking on it, you will be able to update the doc according to your requirements
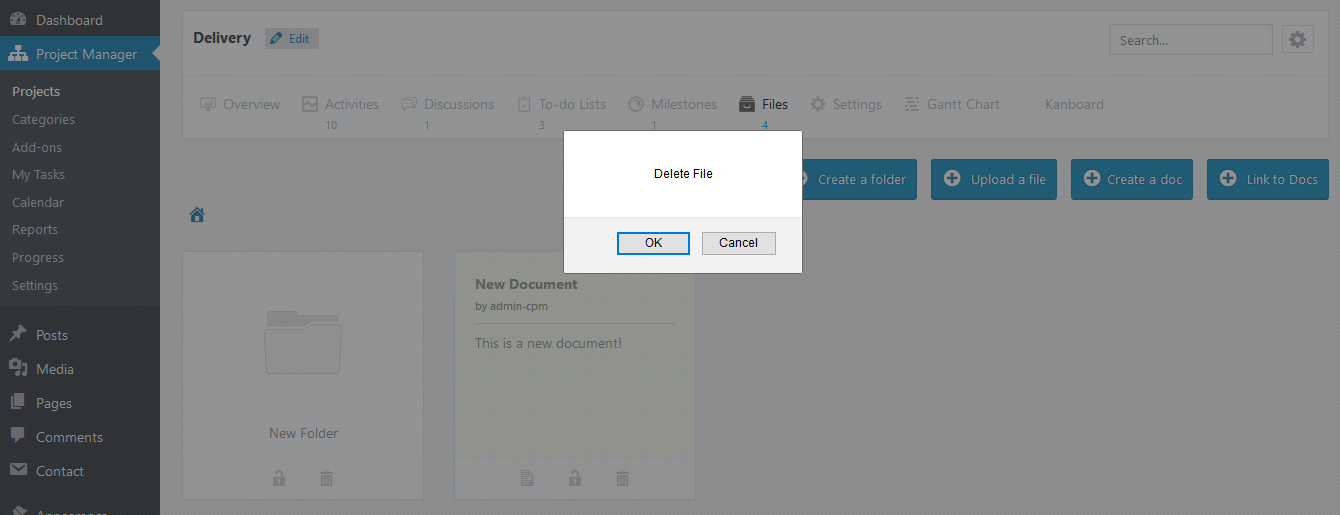
- You can also delete the file/folder/doc by clicking on the delete button on that file/folder/doc
Keeping a backup
- You can always keep a backup of your files if required
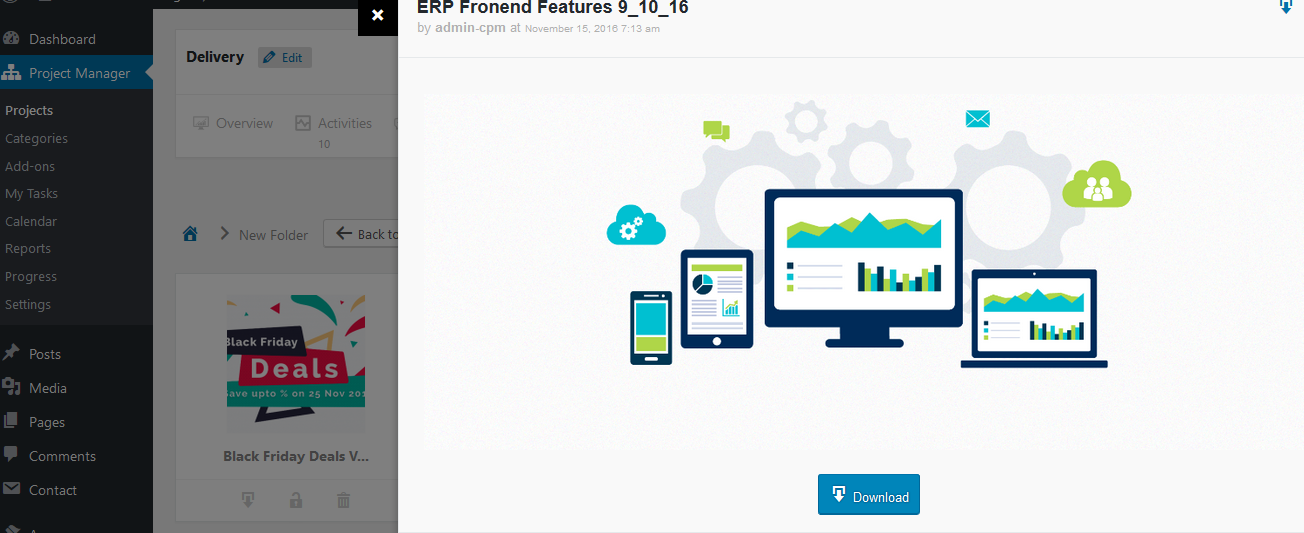
- To do so, click on the file/doc, a preview of the file will appear.
- Click on the Download button to save the file and create a backup.
Uploading Video Files
With WP Project Manager Pro 2.0.8, users will be able to upload videos on the files tab, as well as on comments and messages. Free users will be able to upload videos on comments and messages.
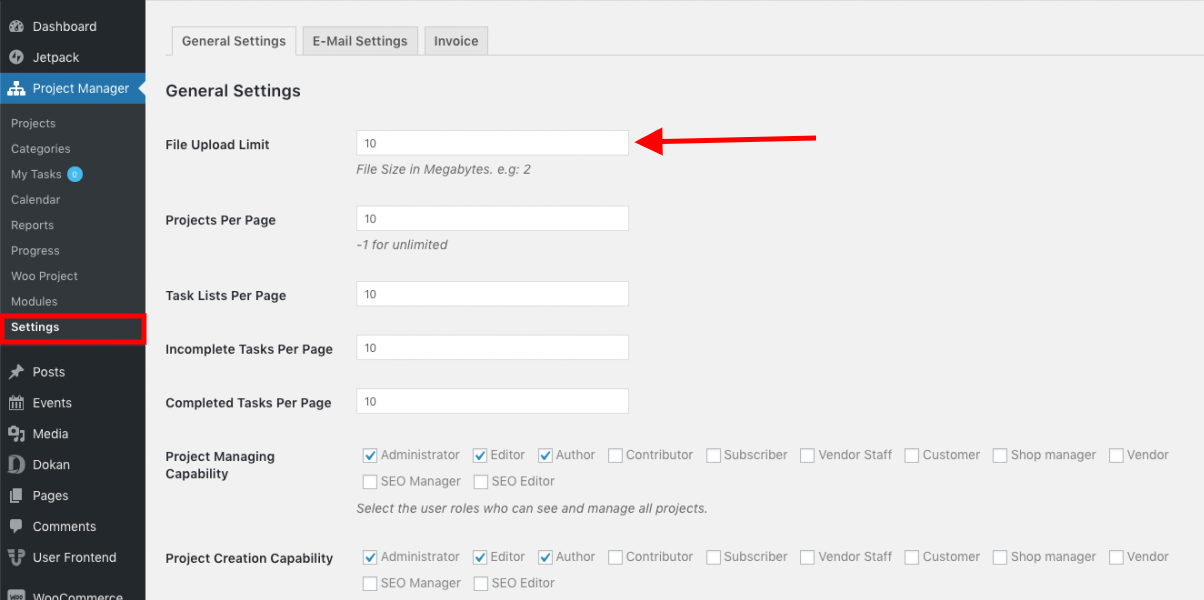
Admins need to change the file megabyte size from wp-admin→Project Manager→General Settings in order to allow more files to be uploaded. The default size has been given as 2MB. In order to allow team members and users to upload more files, the size needs to be increased from here.
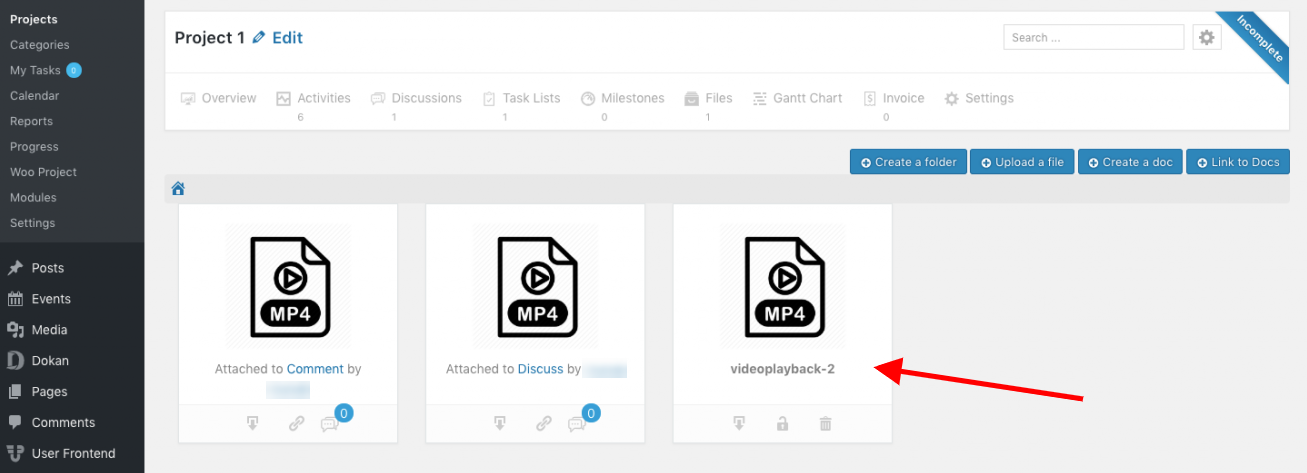
To upload videos in Files manager, simply click on Upload a file, then click on Attach a file, then select your video. Then click on Submit.
Files:
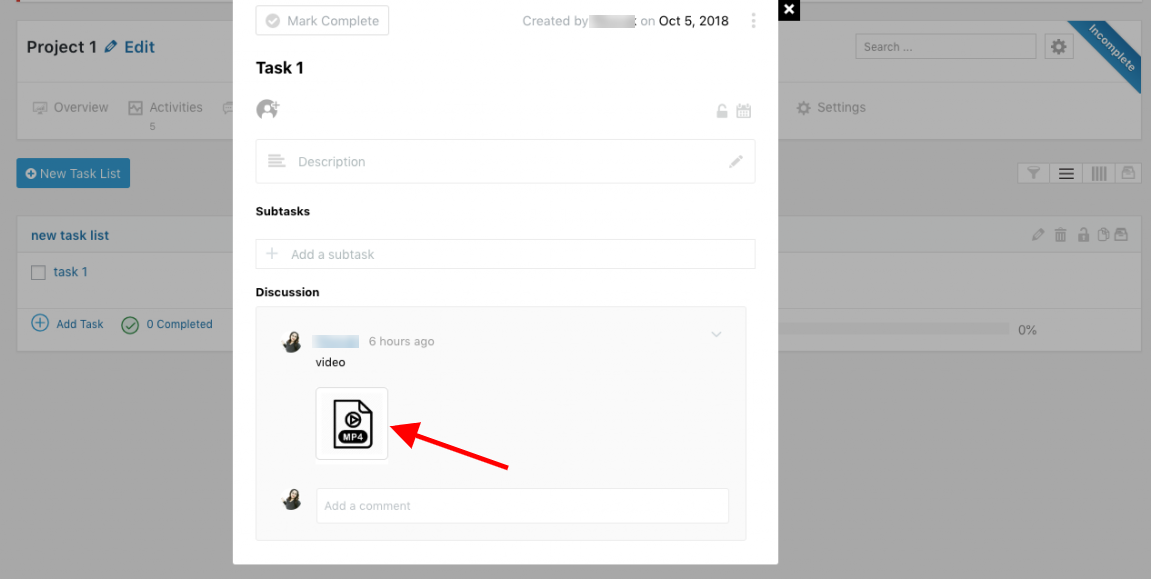
Similarly, to upload video in a task comment, click on the Attachment icon, then select your video file, then click on Post Comment. You will need to write some text too in order to successfully post your comment.
Comments:
In the same way to upload a video in your message under Discussions, open a discussion, click on the Select Files button underneath, select your video, then click on Add New Comment.
Messages/Discussions:
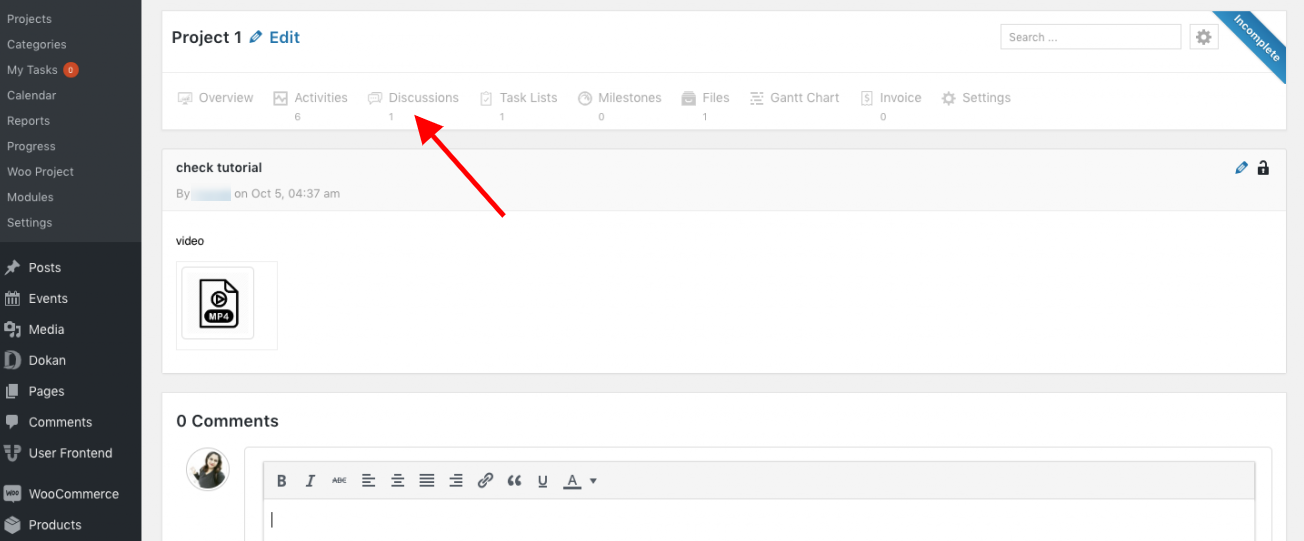
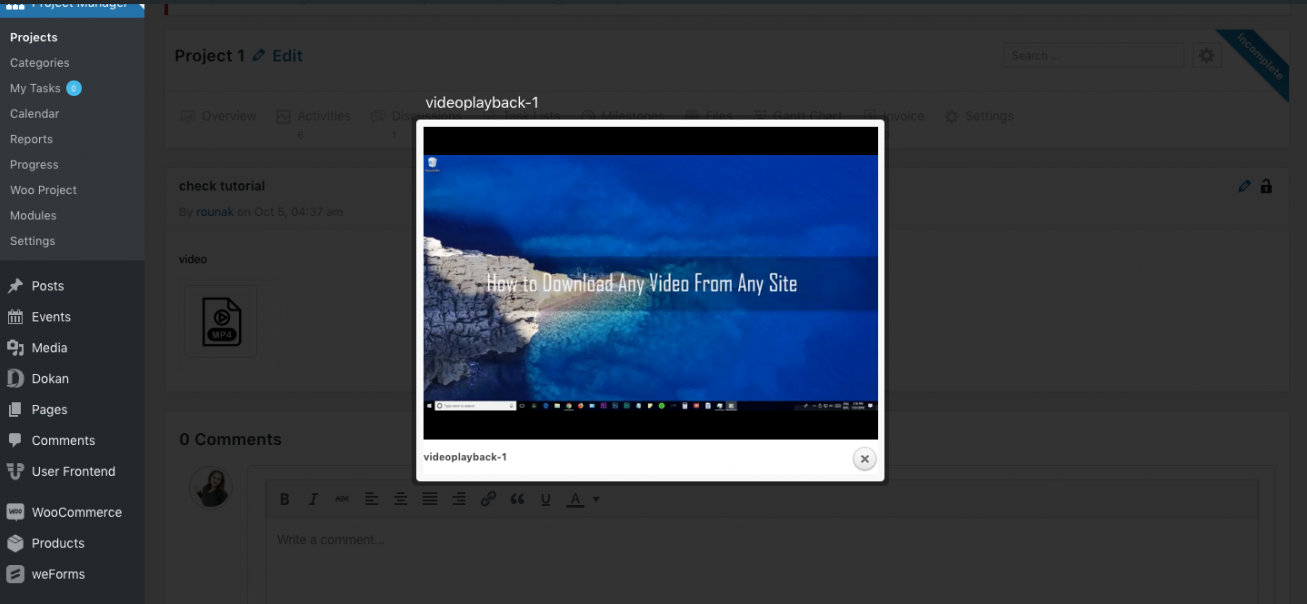
If the files supports HTML 5, admins will be able to view the file directly from project manager. If the file doesn't support HTML 5, the file needs to be downloaded for viewing.
Viewing video from files manager:
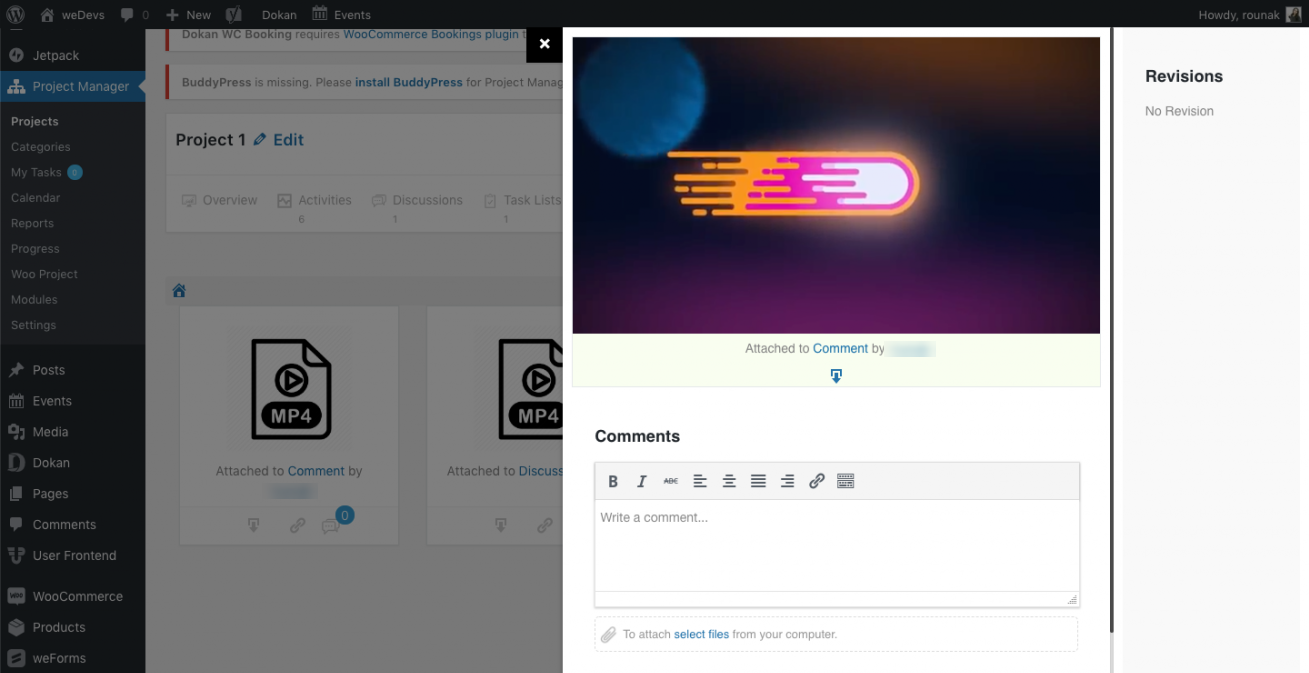
Viewing video from discussions and comments:
Copying Folder to Another Folder
You can easily copy one folder to another folder. The same goes for files also. The process is simple.
After creating files, click on the Move button. It's situated on the bottom of every file.
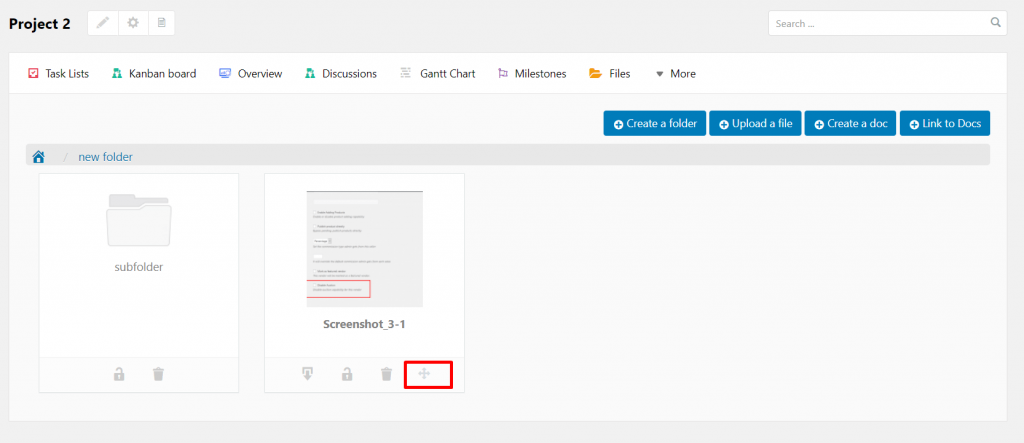
A pop-up will appear. You need to choose the folder where you want to store the folder or file.
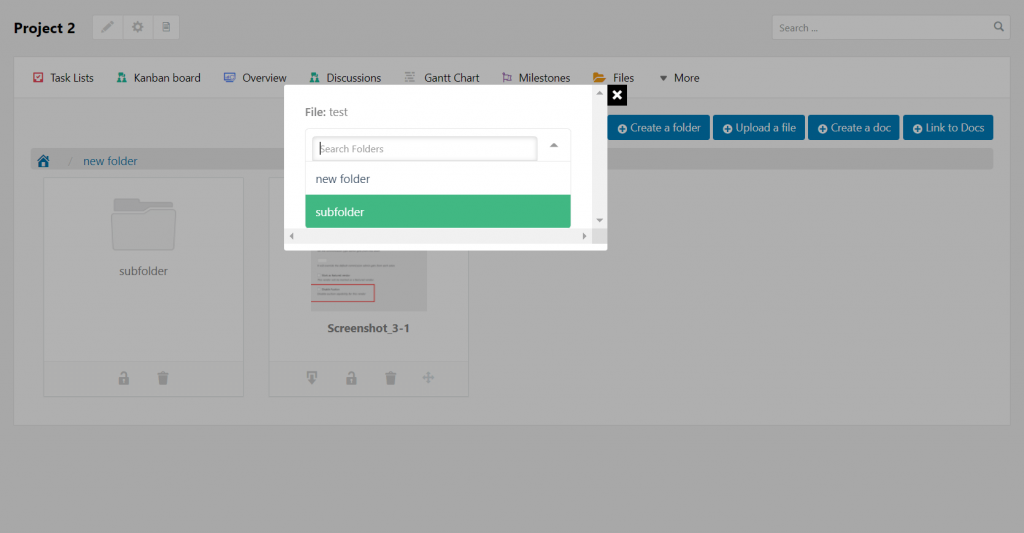
After choosing if you click on the selected folder then you will see the copied folder.
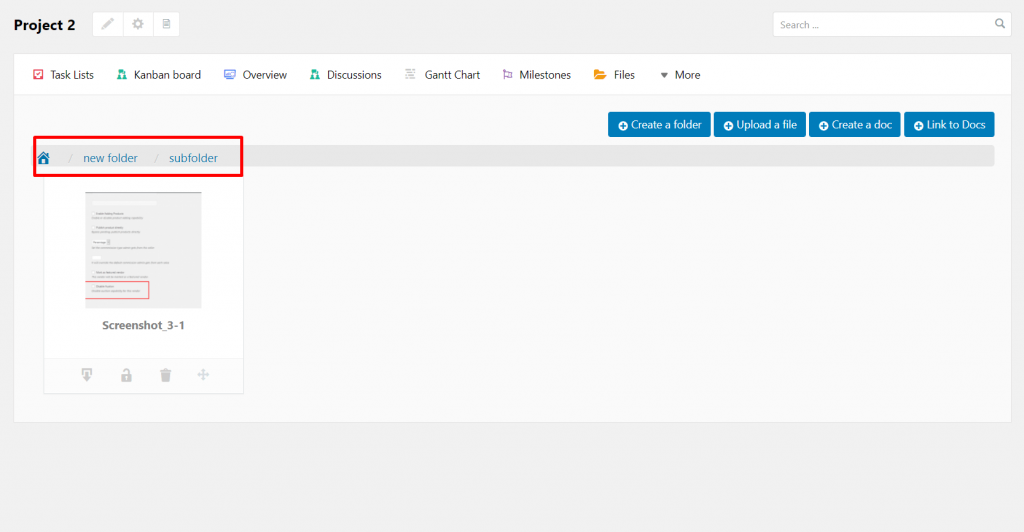
See, that is how easy it is to copy one folder or file another folder.