How to Track Events for Perfect Audience
When an event is fired/triggered by a visitor on your website, Perfect Audience can track that certain event with the help of WooCommerce Conversion Tracking.
Perfect Audience Events
The only thing that you need is the Advertiser ID to configure Perfect Audience with WooCommerce Conversion Tracking. Here are the events you can track in WooCommerce Conversion Tracking:
![]()
Make sure that you have checked all the event boxes that you want to track and created these events for your Perfect Audience account in order to track the events.
-
View Product
This event is triggered when a visitor clicks on a product and see the product. Suppose that one of your website's visitor clicks on the following product:
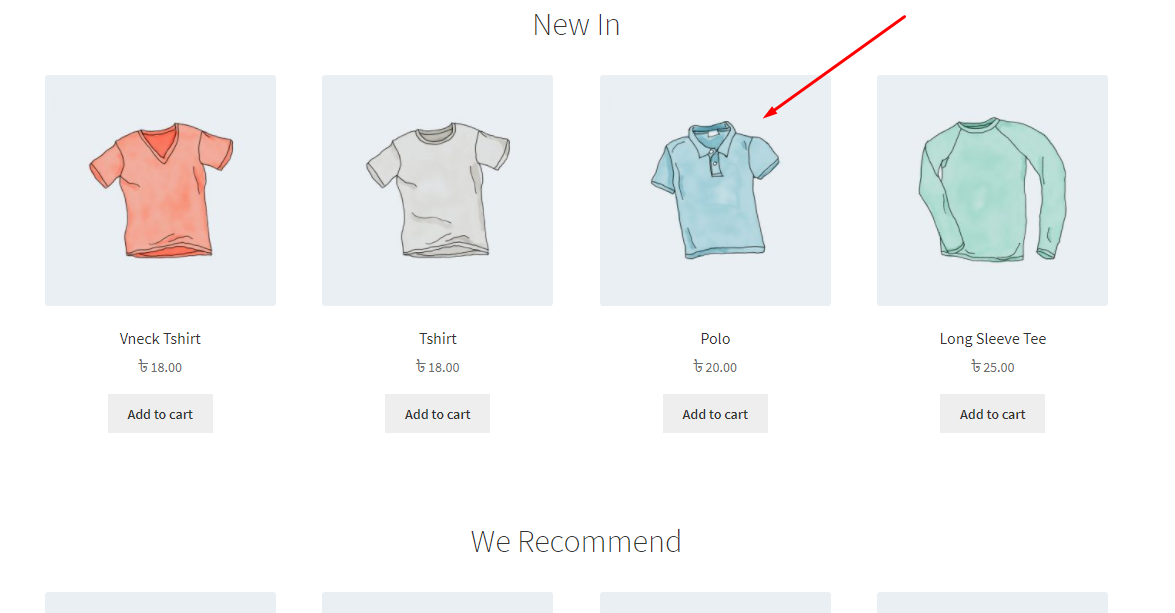
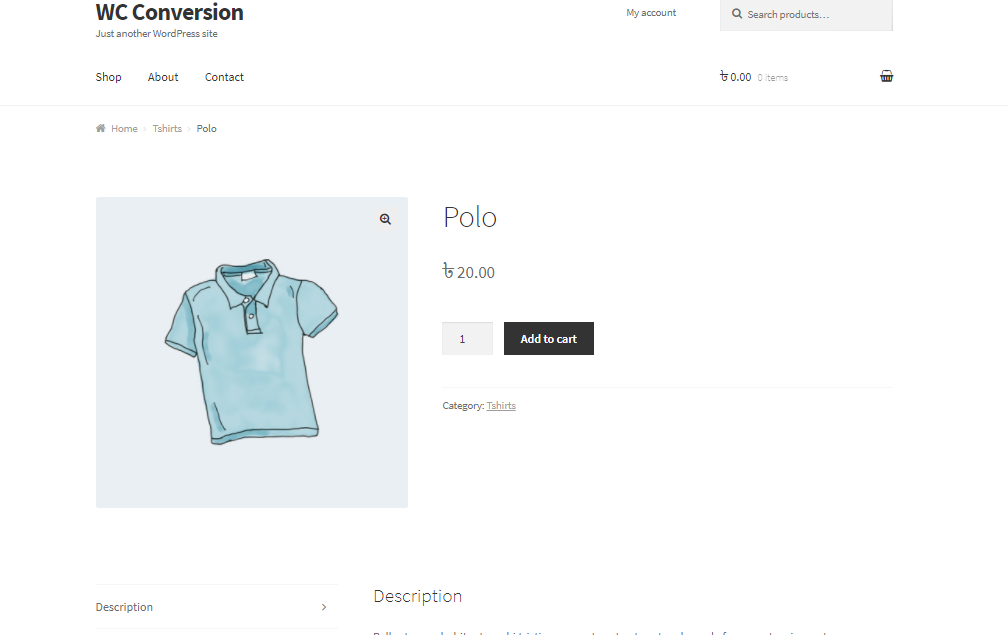
The event is triggered when the product is viewed on a single page:
-
Add to Cart
When your visitor adds an item to his/her Cart, WooCommerce Conversion Tracking can track and record this event's details.
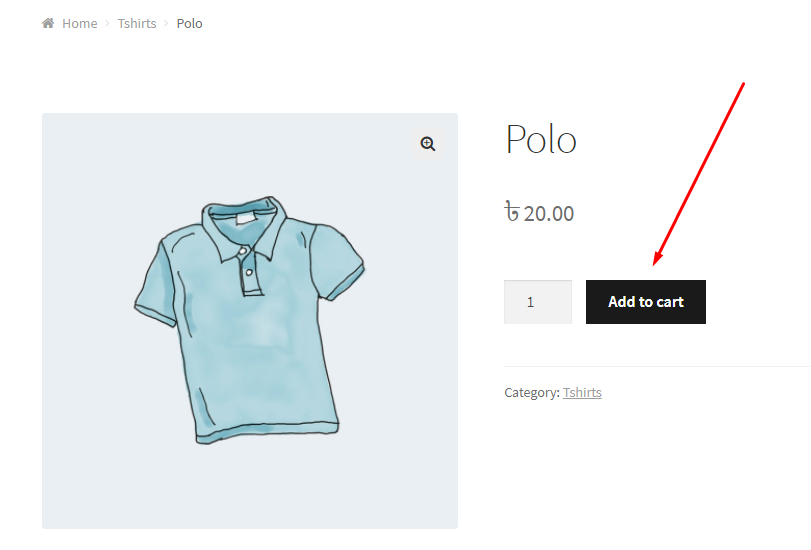
In order to see the tracking details, you just have to visit your Perfect Audience account's dashboard.
-
Initiate Checkout
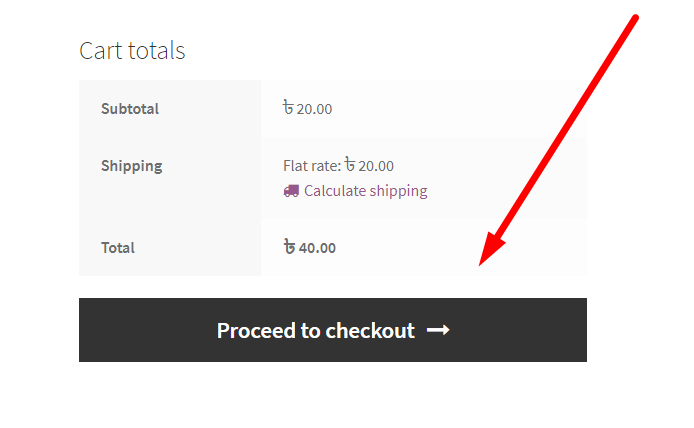
Similar to the Purchase event, but it is measured immediately after the visitor or potential customer initiates the checkout process. Even if the visitor doesn't the complete the purchase, you can still use this abandoned product data to re-market to the user and encourage them to complete their purchase in future.
-
Purchase
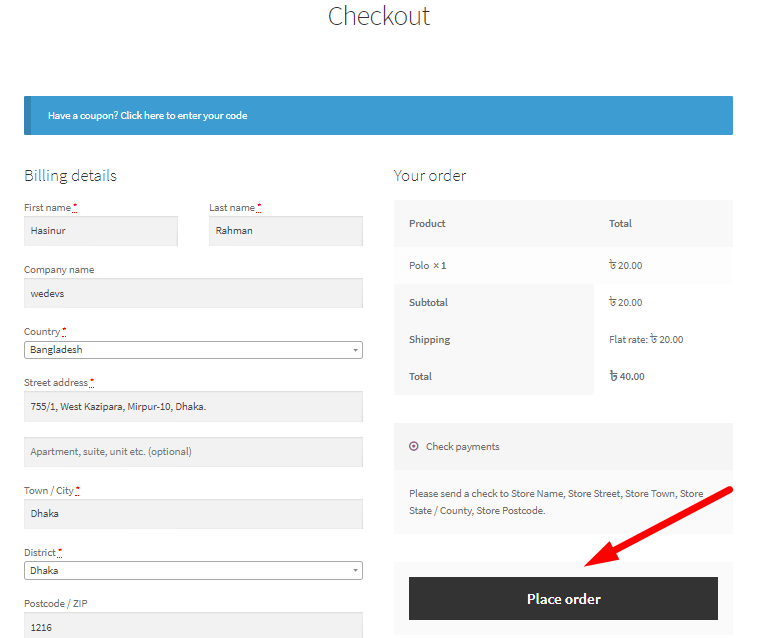
When your customer places an order the event is called a Purchase. You will also be able to track all sorts of purchase events with the help of WooCommerce Conversion Tracking.
-
Complete Registration
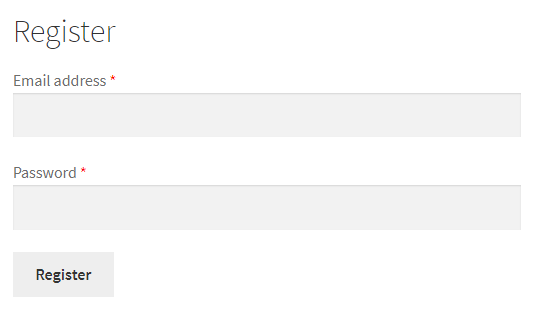
This event is triggered when any visitor completes a sign-up process on your WooCommerce website. You can also track this event if you check the Complete Registration radio box.
In order to track these events, you will have to create these events in your Perfect Audience account.
Create an Event
After having logged in to your Perfect Audience account, you will see the following screen:

Next, place your mouse on Manage and you will get some options right away.
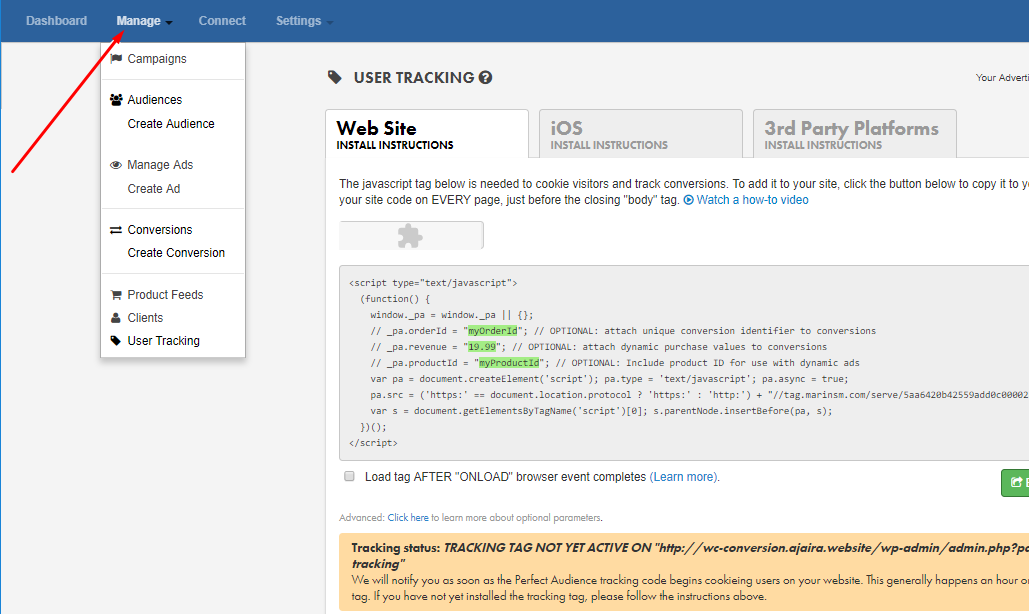
Select Create Audience from the menu and you will get some fields to create an event.
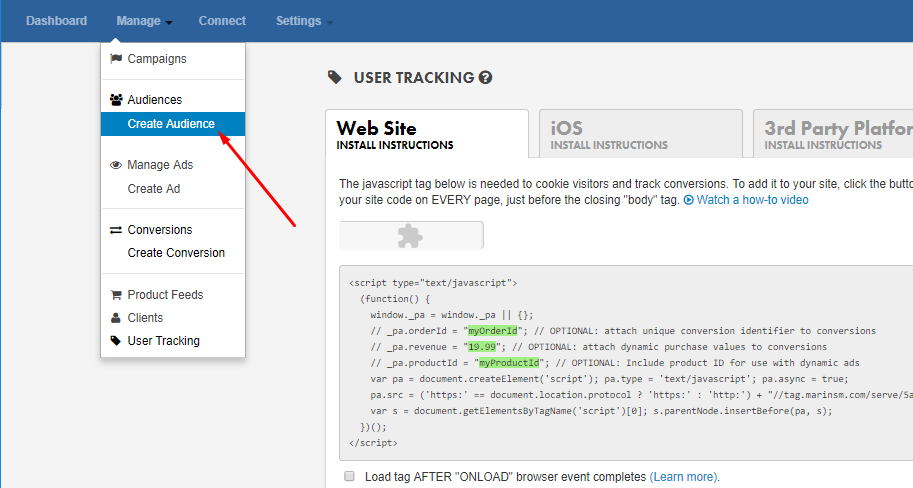
Set an Audience Name and then click on Event.
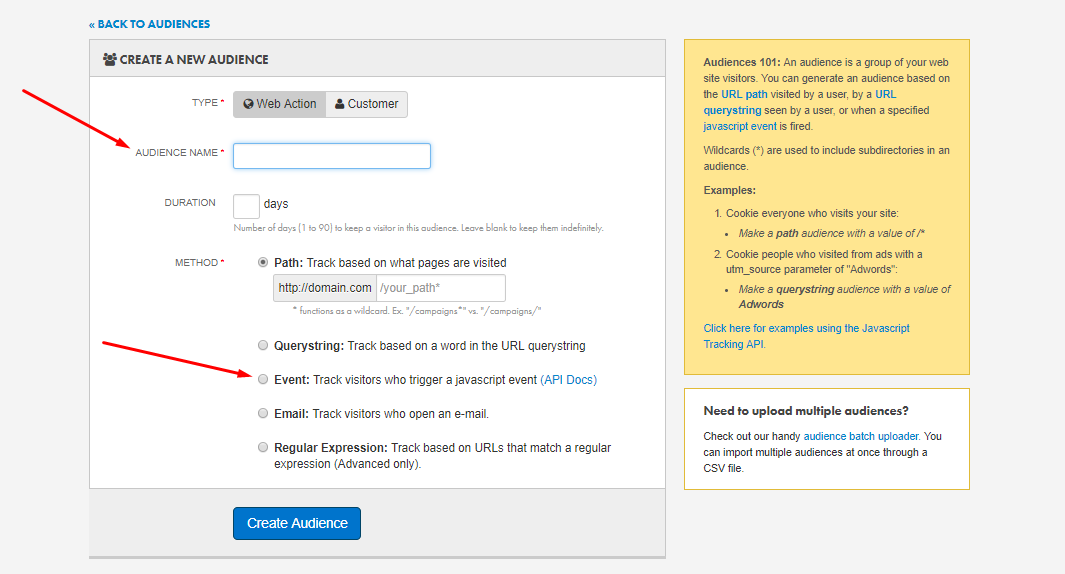
When you click on Event, you must put a value for an event name. Here is a table of each event's name and value:
| Event Name | Value |
|---|---|
| View Product | ViewContent |
| Add to Cart | AddToCart |
| Initiate Checkout | InitiateCheckout |
| Purchase | Purchase |
| Registration | Registration |
Suppose, we want to track Add to Cart event. To do so, type the value “AddToCart” in the blank place as demonstrated by the red arrow below:
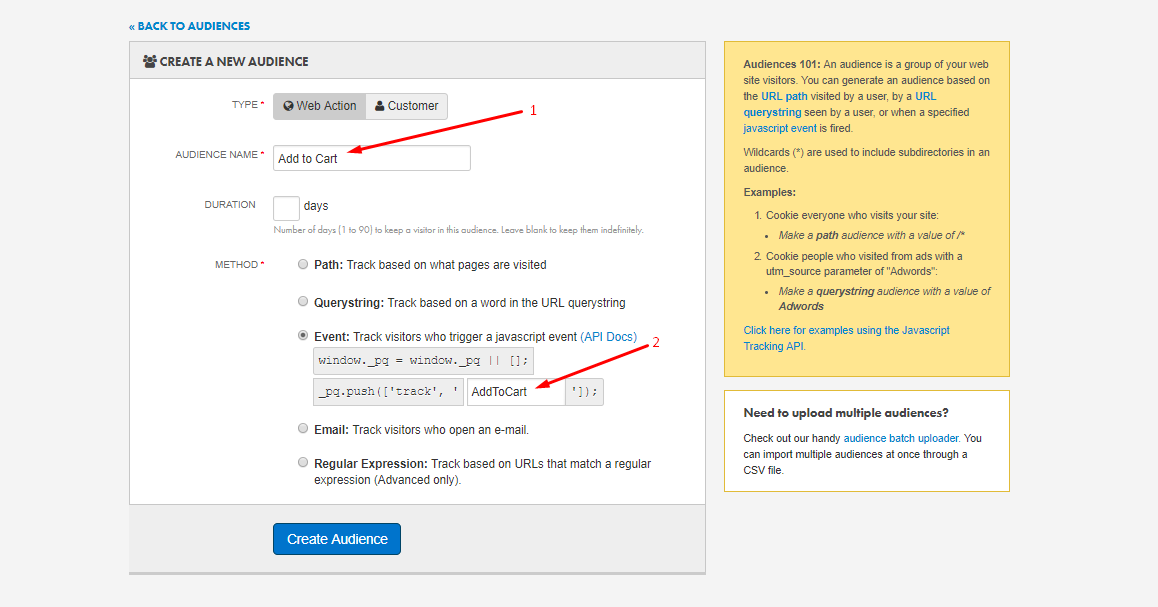
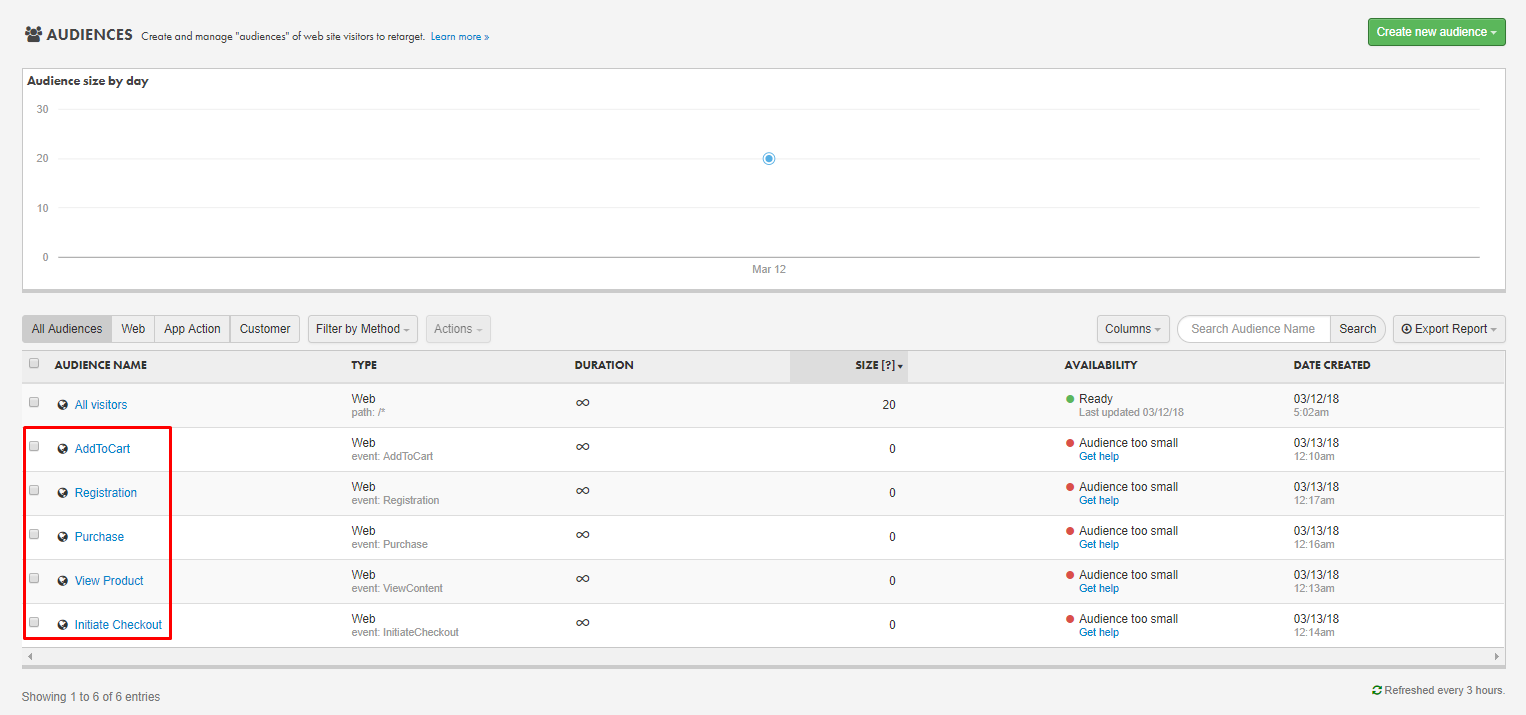
Now, click on Create Audience button and you are good to go! You can check the track report when you visit the Perfect Audience dashboard. Here are a few events from the Dashboard:
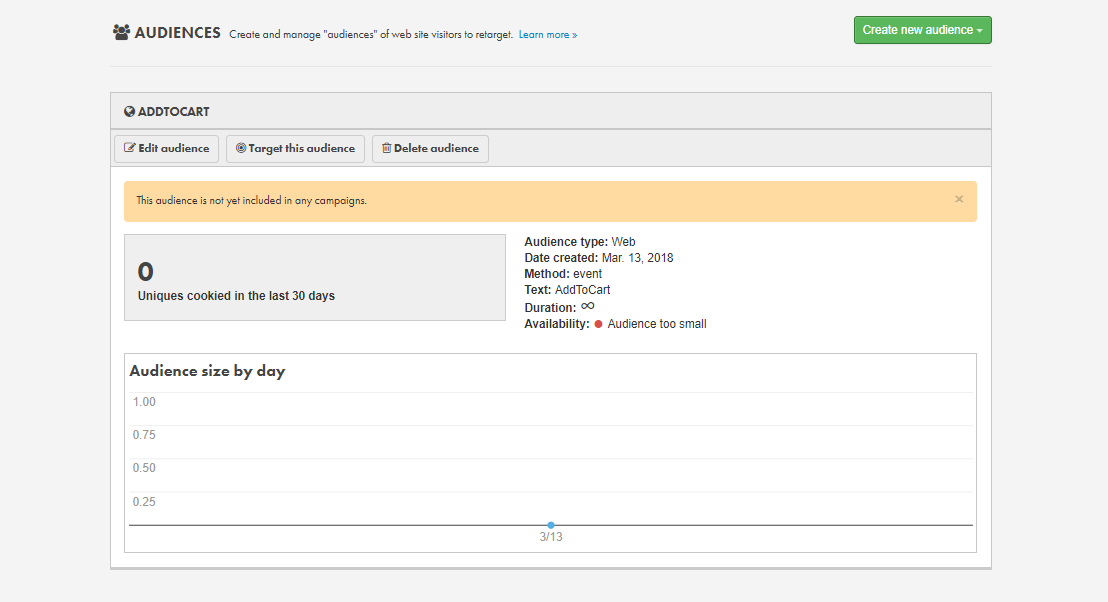
You can also get more details of the events by selecting a certain event. Say, you select the Add to Cart Event.
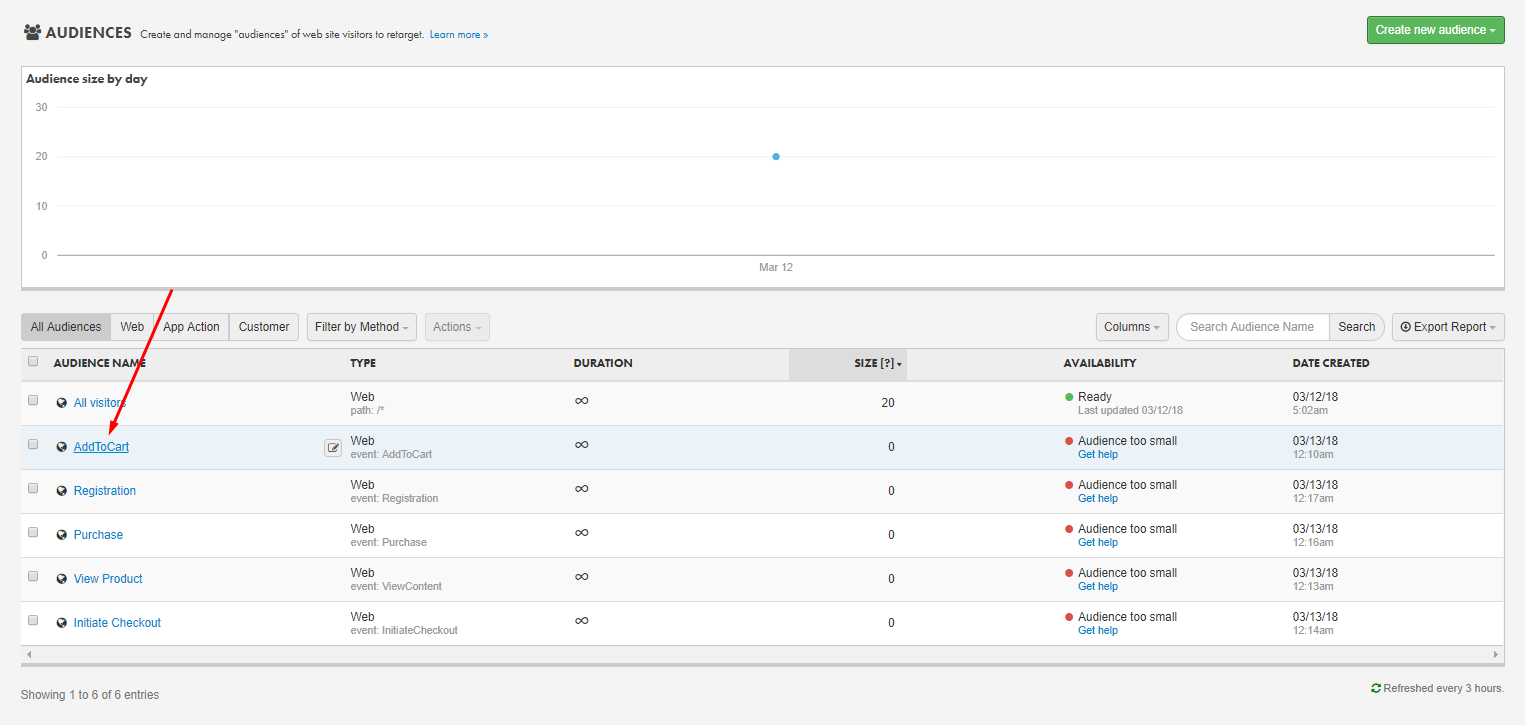
Now, you will be taken to this screen which includes the detailed information of the Add to Cart event:
N.B. It will take a few days to get all the data about an event when it is fired.